Last updated November 21, 2026
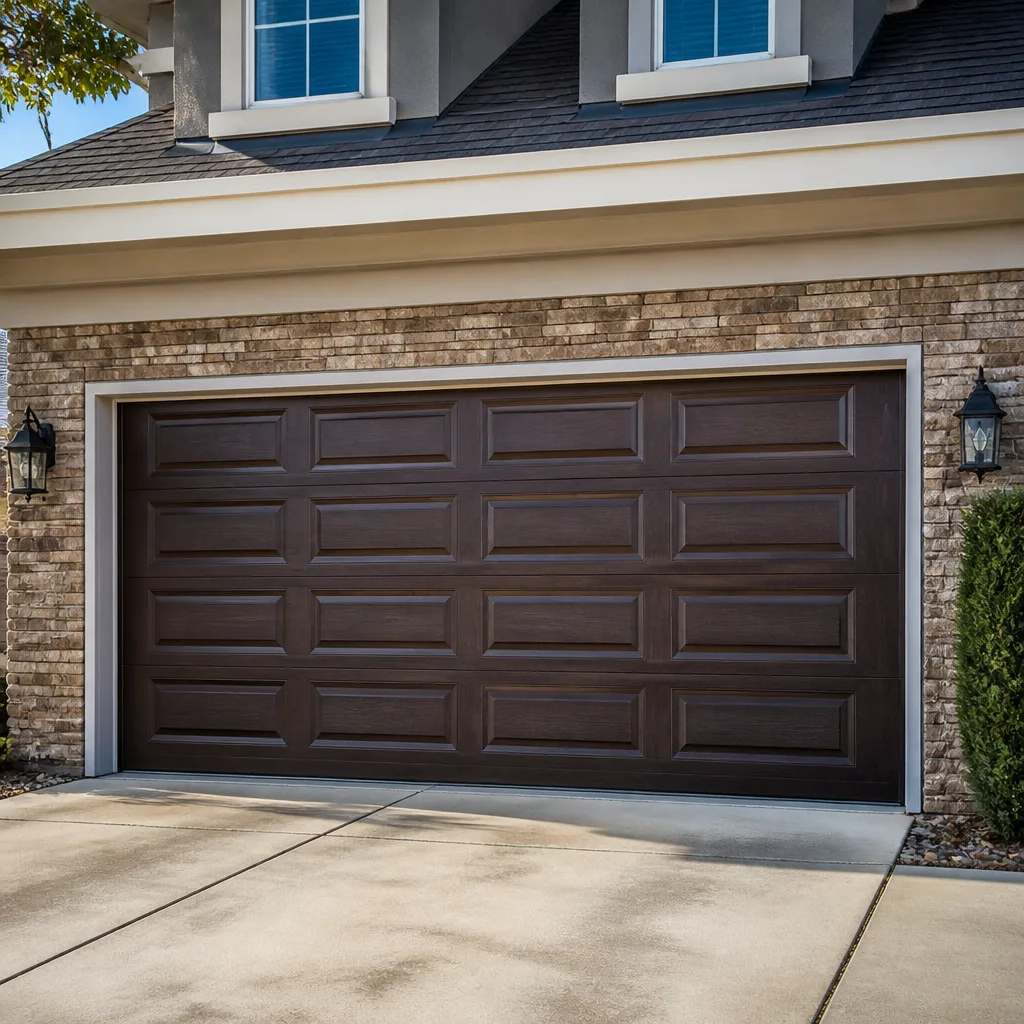 Raised-panel steel
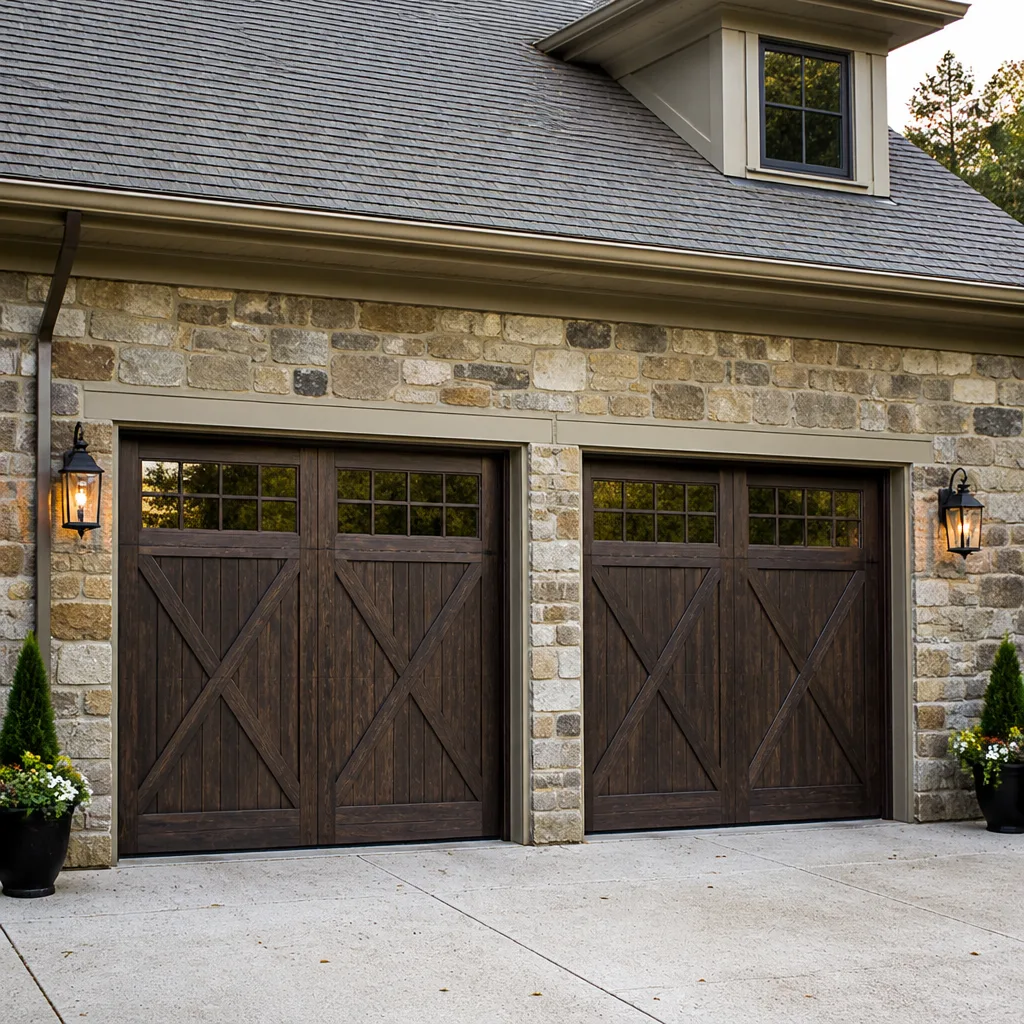 Carriage house
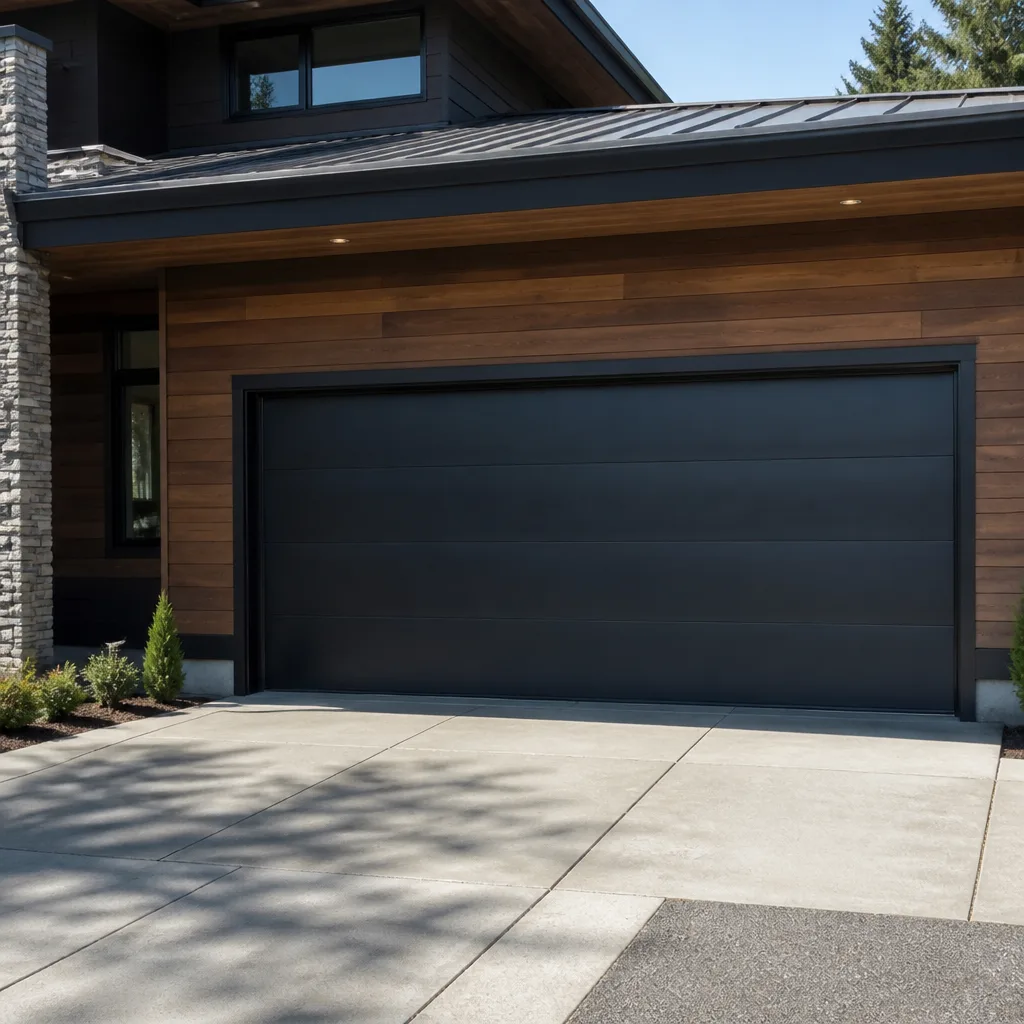 Modern flush
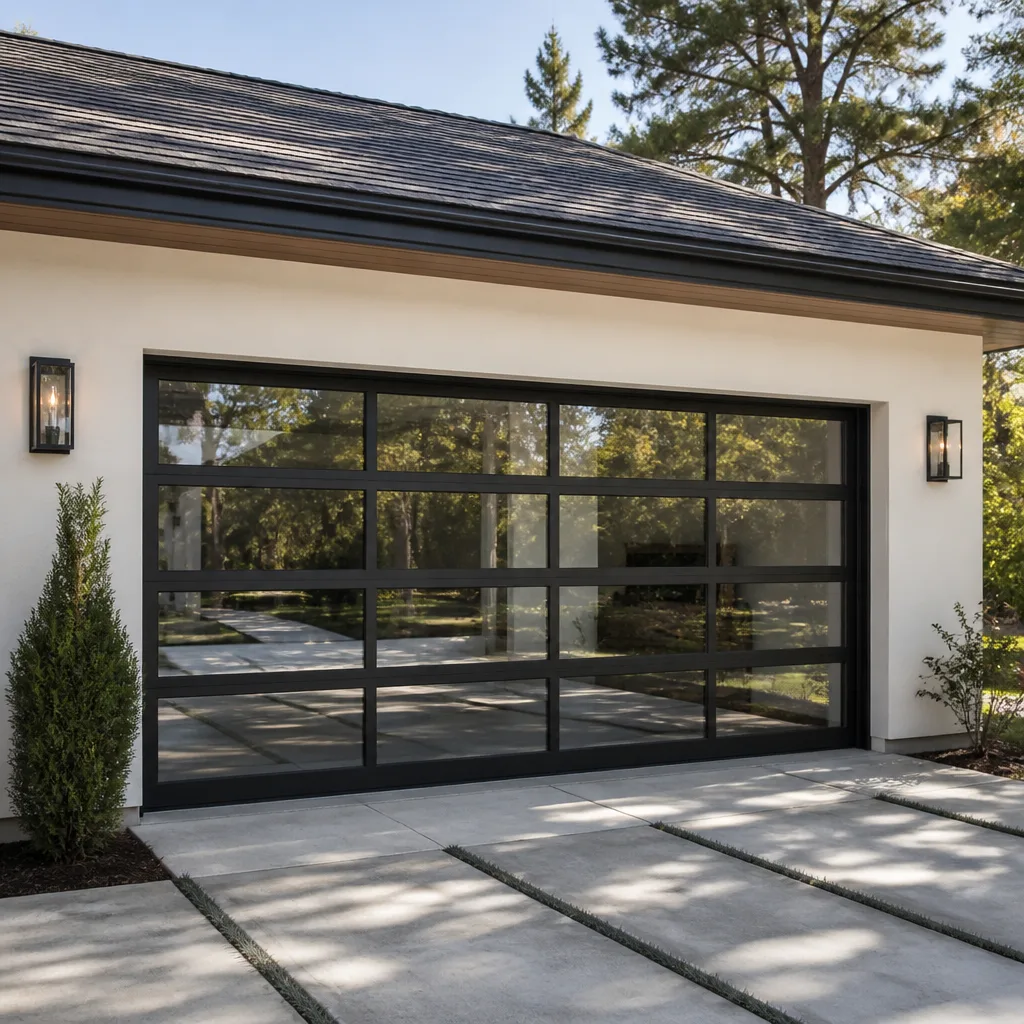 Full-view glass
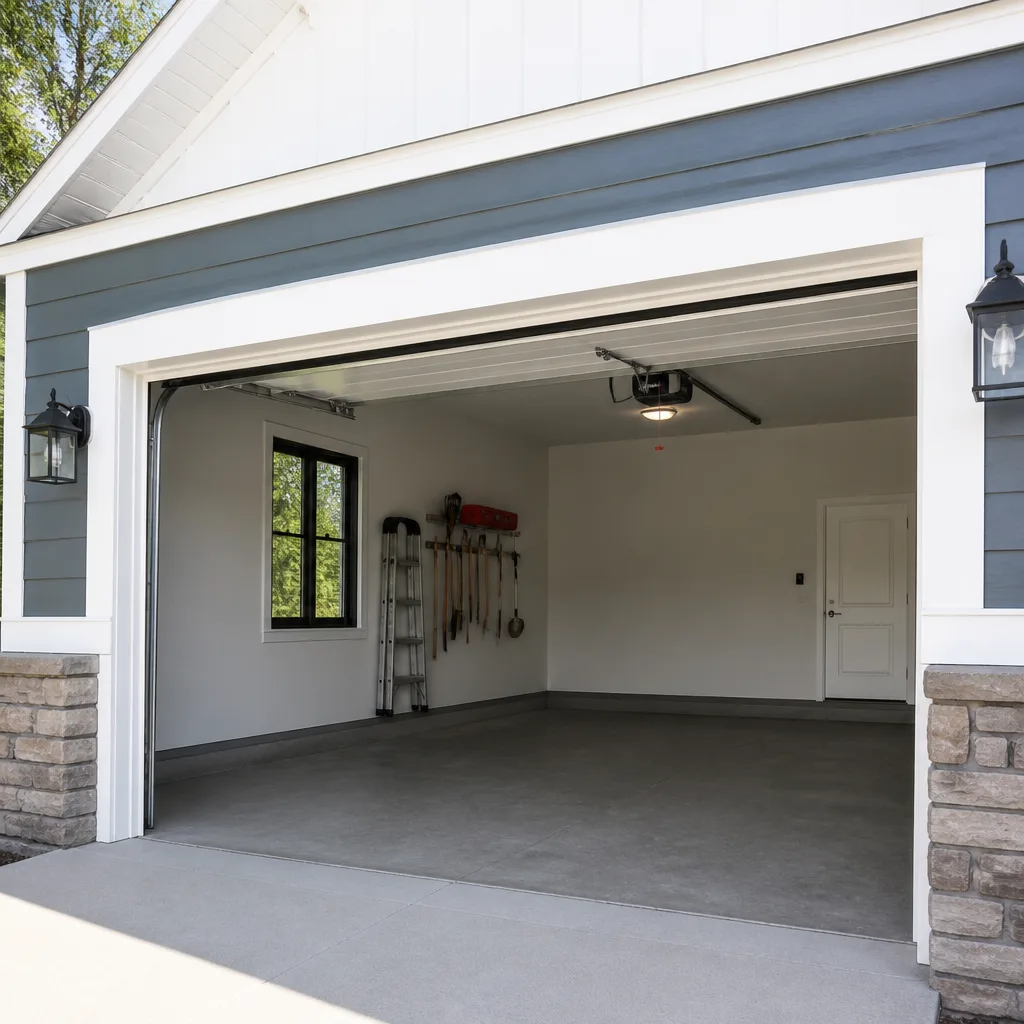 LiftMaster openers
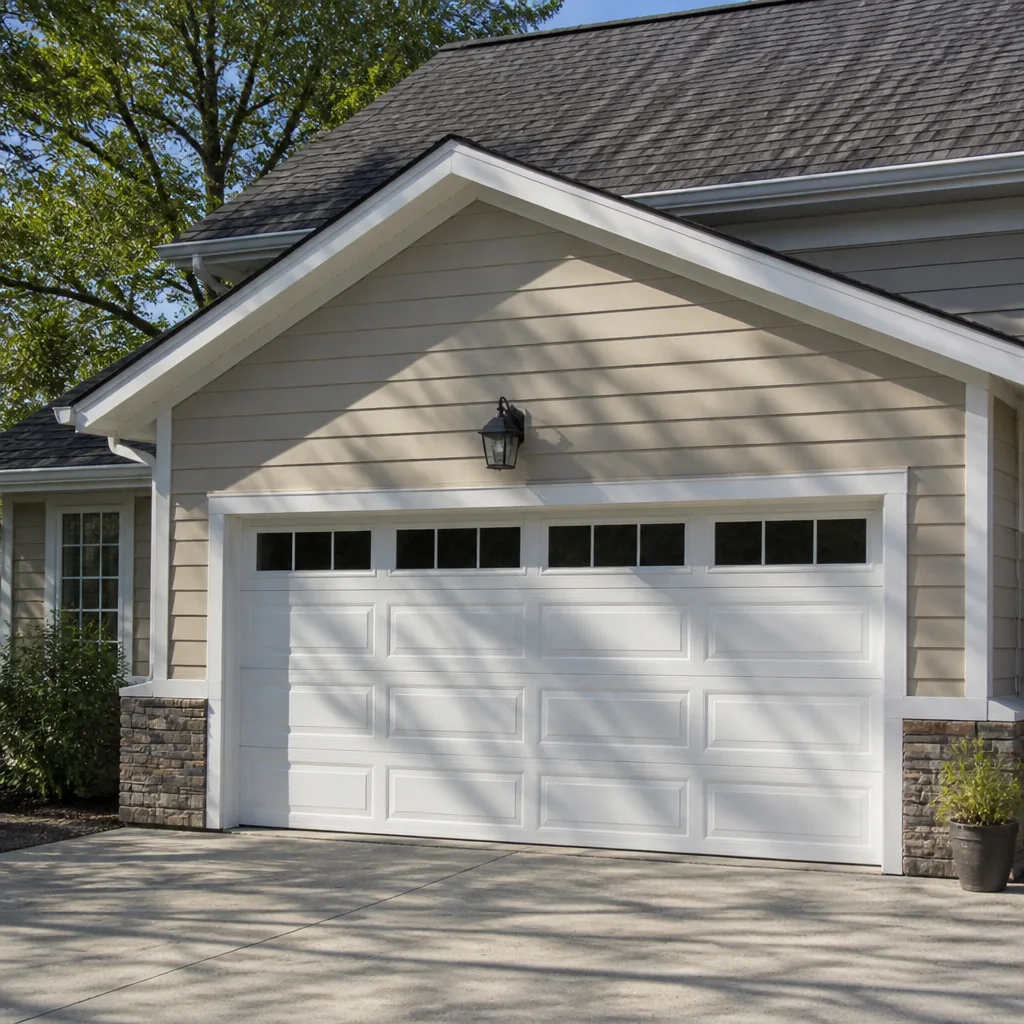 Chamberlain openers
Full 25-point door and opener safety check with every visit - springs, cables, rollers, tracks, and your LiftMaster or Chamberlain opener included
You get a price before we start. It does not change when the pro arrives.
Get your free estimateGarage Door Repair Maintenance Checklist for Chelsea Homeowners
The maintenance task most Chelsea homeowners skip isn’t lubrication. It’s checking bottom seal compression after the freeze-thaw cycles that press the rubber against gritty, uneven concrete aprons and wear it out within a single winter. Most checklists you’ll find online are written for suburban driveways with smooth, level slabs and a single car going in and out twice a day. Chelsea isn’t that. Dense blocks, freight vibration along the West Side corridors, and the humidity swings that come with a riverside city all shape how a garage door fails here. This guide walks you through what actually matters: the specific lubricants each component needs, how to inspect torsion spring winding cones for the hairline cracks vibration causes, a weatherstripping protocol built for curb-height variation, and a printable schedule you can keep on the garage wall. We’ll show you where a trained eye saves you money and where the job is too dangerous to touch.
Quick Answer
A garage door in Chelsea needs lubrication every 3 to 4 months, a bottom seal check after every freeze-thaw stretch, spring and cable inspection twice a year, and a full safety-reverse test once a month. Most failures we see here trace back to two things: worn bottom seals and skipped hinge lubrication. Neither takes long to check, and both are far cheaper to catch early than to repair after a spring snaps.
Styles & brands we work with
- Raised-panel steel
- Carriage house
- Modern flush
- Full-view glass
- LiftMaster openers
- Chamberlain openers
Table of Contents
- Why Chelsea Doors Wear Differently
- Your Monthly Five-Minute Check
- Lubrication: The Right Product for Each Component
- Bottom Seal and Weatherstripping Protocol
- Spring Inspection and the Winding Cone Check
- Opener, Logic Board, and Sensor Intervals
- Your Printable Annual Schedule
- What Never to Do Yourself
Why Chelsea Doors Wear Differently
A garage door in a quiet suburb and a garage door on a Chelsea side street lead very different lives. Understanding what’s different helps you prioritize what to check and how often.
Start with the concrete. Many Chelsea garages sit behind buildings where the apron slopes or heaves unevenly, and curb height varies from block to block. A bottom seal that meets a flat slab in one place and a raised lip in another gets pinched unevenly. That’s why seals here tend to fail in a specific pattern: one side wears through while the other still looks fine. If you only glance at the middle of the door, you’ll miss it.
Then there’s vibration. Constant traffic through the neighborhood sends a steady low-frequency shake through building frames and the hardware bolted to them. Over time that loosens hinge screws, wears roller bearings faster than you’d expect, and works on the torsion assembly in ways a checklist written for a rural driveway won’t mention. We work on door hardware from Clopay, Amarr, Wayne Dalton, and Raynor, and the pattern holds across all of them: vibration fatigue shows up in the small parts before it shows up in the big ones.
Humidity matters too. Chelsea’s seasonal swing between damp spring air and dry winter heating pulls metal through expansion and contraction cycles. That’s hard on opener electronics, on wooden or composite door panels, and on any seal that’s already lost its flexibility. A garage that felt fine in October can have a stiff, cracked seal by February.
The good news: these stressors are predictable, which means the maintenance schedule can be too. The rest of this guide is built around them.
Your Monthly Five-Minute Check
Once a month, take five minutes and run through these six items. You don’t need tools for most of them, and you don’t need to touch anything under tension. This is the fastest way to catch a problem while it’s still cheap.
- Test the safety reverse. With the door fully open, place a piece of lumber or a firm object about an inch and a half thick on the ground under the door. Close the door using the wall control. The door should reverse on contact. If it doesn’t, stop using the opener and call for garage door repair before someone gets hurt or the door gets damaged.
- Test the photo-eye sensors. With the door open, wave your hand through the beam between the two sensors near the floor. The door should not close while the beam is broken. Check that the sensor lenses are clean and that both indicator lights are steady, not flickering.
- Look at the bottom seal edge-on. Crouch down at each corner and look along the seal’s length. Any visible gap, tear, or flattened section means the seal isn’t doing its job.
- Listen for changes. A door that suddenly rattles, squeaks at a new pitch, or hesitates before moving is telling you something.
- Check the balance by hand. Disconnect the opener (usually a pull cord) and lift the door halfway. It should stay put. If it drifts down or takes real effort to lift, the springs are losing tension.
- Eyeball the tracks and rollers. Look for obvious dents, loose screws, or rollers that have come out of the track.
That’s it. Five minutes. Write the date on the schedule at the end of this guide so you don’t lose track. When the door starts acting up in Chelsea, it almost never does so without a month or two of warnings.
Lubrication: The Right Product for Each Component
If you take one thing from this guide, make it this: “white lithium grease on everything” is wrong. Different parts of a garage door see different loads, and they need different lubricants. Using the wrong one is often worse than skipping it, because the wrong grease attracts grit and turns into a grinding paste.
Here’s what we recommend, component by component. Buy two products: a can of white lithium grease for the moving metal parts, and a silicone-based spray lubricant for the seals. That’s most of what you’ll need.
- Torsion spring shaft: A light coat of white lithium grease along the shaft, where the spring coils slide. Wipe off the excess; you’re reducing metal-on-metal wear, not packing a bearing.
- Roller bearings: A few drops of white lithium grease where the roller stem meets the bearing. If the roller bearings are sealed, don’t force lubricant in; they’re maintenance-free and get replaced when they wear out.
- Hinges: White lithium grease at the pivot point of every hinge. This is where you’ll see the biggest change in noise. Hinges take the vibration load hardest, especially along the top panels.
- Lock mechanism (if you have one): A dry graphite lubricant, not grease. Grease in a lock cylinder collects dirt and jams the tumbler.
- Weatherstripping and bottom seal: A silicone spray lubricant, because it keeps the rubber pliable without breaking it down. Never use petroleum-based grease on rubber seals; it will accelerate cracking.
- Track surfaces: Nothing. Don’t oil the tracks. Oil collects grit from the apron and makes the door sluggish.
How often? Every 3 to 4 months for the metal components in a Chelsea garage. The humidity swing kicks up more grit and dust than a suburban setting does, so the four-times-a-year rhythm fits the neighborhood better than an annual oiling.
Bottom Seal and Weatherstripping Protocol
The bottom seal is the part of your garage door that takes the most environmental punishment and gets inspected the least. Here’s the protocol we recommend, built for the concrete aprons and curb-height variation you actually find in Chelsea.
The core problem: a garage door seal isn’t designed to sit flat on perfect, level concrete. It’s designed to flex over gaps of a half inch or so and return to shape. When the concrete underneath is uneven, slopes toward the street, or has a raised lip at one end, the seal gets continually compressed on one side and stretched on the other. After a freeze-thaw season, the over-compressed side cracks while the other side still looks new.
Inspect the seal in four passes:
- Close the door fully. Crouch at each corner and look along the seal line. Look for light gaps, tears, and hard, plastic-like patches where the rubber has stiffened.
- Run a flashlight along the outside edge from one side of the door to the other. Any light coming through from the garage side means the seal isn’t seating properly against the concrete.
- Check the seal at the concrete apron’s high points. Where the apron rises, the seal should be compressed, not crushed. If the rubber has collapsed into the seal holder there, it’s already failed.
- Look at the weatherstripping along the door frame, especially the sides. Side seals dry out faster in Chelsea garages that get direct summer sun on one face and winter damp on the other. Replace them when they feel brittle.
If you’re seeing gaps after each winter, consider whether the bottom seal you’re replacing is the right profile for your apron. Some seals (like bulb seals) handle uneven concrete better than others, and swapping the profile can reduce how often you’re changing the seal. That’s a job we’re happy to advise on.
Spring Inspection and the Winding Cone Check
Springs are the part of a garage door system that fail loudly, sometimes dangerously, and almost always after a long buildup you can spot with a careful eye. This is the section where knowledge matters most, and where most DIY checklists are thinnest.
You have either torsion springs (usually mounted on a shaft above the door) or extension springs (running along the sides). Both should be checked twice a year, and both should be replaced as a matched pair when they’re done. A spring that’s past its useful life and about to fail is often visibly different from one that’s fine.
What to Look For
- Visible stretch or sag: Extension springs that have lost tension sag noticeably. Torsion springs that are worn may not show obvious stretch, but the door will feel heavy or unbalanced when you lift it by hand with the opener disconnected.
- Color-coded paint: Torsion springs are usually painted with a color that indicates their weight rating. If that paint is completely gone and the spring is bare rusted steel, it’s aged past its prime.
- Gaps in the coil: A visible gap between coil turns on a torsion spring means the spring has been stretched past its design point.
- Winding cone micro-cracks: This is the check almost nobody mentions. The winding cones are the metal end caps that hold the torsion spring to the shaft, held in place by set screws. Under constant vibration from nearby traffic, they can develop hairline cracks radiating from the set screw holes. A crack there is serious: it can let the spring slip on the shaft, sometimes catastrophically.
How to Inspect Winding Cones Safely
- With the door closed and the opener disconnected, look up at the winding cones from ground level. A flashlight helps.
- Check the area around each set screw on the cone. Look for fine cracks, discoloration, or fresh rust weeping from around the screw.
- Check that each set screw is snug. Do not loosen or tighten any screw while the spring is under tension. If you find a loose screw, stop and call a professional.
- Look for rust streaks along the torsion shaft. They often start at a cone that’s beginning to shift.
In our experience working on Clopay, Amarr, Wayne Dalton, and Raynor door assemblies, winding cone cracks in Chelsea show up more often on doors in buildings close to heavier traffic. If your garage is near a major corridor, check the cones more often.
Safety note: Torsion springs and cables are under dangerous, stored energy. Never loosen a winding cone, cut a spring, or attempt to replace one yourself. The first move of a snapping spring can be lethal. If you see a cracked cone or a spring in distress, call for spring repair and keep everyone away from the door until it’s assessed.
Opener, Logic Board, and Sensor Intervals
The opener is the brain of your garage door system, and in Chelsea’s humidity and temperature swings it needs its own calendar. Opener electronics, particularly the logic board and safety sensors, are the pieces most likely to act up in ways that look like a mechanical problem but aren’t.
We work on LiftMaster, Chamberlain, Genie, and Craftsman systems. Whether you have a smart opener that reports to your phone or an older belt-drive unit, the inspection rhythm is similar.
Monthly (2 minutes)
- Run the safety reverse and photo-eye tests (covered above).
- Check that the wall control and remote buttons work smoothly, without needing extra presses.
- Look at the opener’s indicator light. If it’s flashing a code, consult the manual. Many code patterns point to sensor alignment or a logic board hiccup that’s easy to fix.
Twice a Year (10 minutes)
- Clean the safety sensor lenses with a soft, dry cloth. Dust and grit build up fast on Chelsea blocks. The lenses are the most common cause of a door that “won’t close.”
- Check sensor alignment. Both lights should be steady, not flickering. If one is off or blinking, realign the bracket.
- Inspect the wiring from the sensors to the opener. Look for worn insulation, especially where the wire runs along the frame.
- Check opener mounting bolts. Loose bolts let the opener shake and can eventually stress the logic board.
Annually (once a year, or after a power surge)
- Look inside the opener housing (with the power off) for signs of insect activity or moisture, both more common in humid urban garages.
- Reset the opener and re-run the travel limit and force settings per the manual. If the door struggles after a reset, it’s a mechanical issue, not an electronic one.
- If you have a connected opener, check that the app is talking to the unit. Firmware updates sometimes need to be applied, especially on LiftMaster myQ and Chamberlain MyQ systems.
Logic board failures are usually obvious: the opener won’t respond, or it responds to one remote but not another, or it works from the wall control but not the remote. If that happens, don’t assume you need a new opener. Many times it’s a sensor or a board issue that we can fix. If you’re seeing symptoms like these, garage door opener repair is a good starting point.
Your Printable Annual Schedule
Print this and keep it on the garage wall. It’s formatted as a signed-off schedule you can check off as you go. Add a small note to any month where you found something unusual.
Every Month
- Safety reverse test with a firm object under the door
- Photo-eye sensor test, both lights checked
- Visual check of bottom seal from ground level
- Listen for new noises; note any changes
- Manual balance test
- Signed: ________ Date: ________
Every 3-4 Months
- White lithium grease: hinges, roller bearings, torsion shaft
- Dry graphite on lock mechanism (if applicable)
- Silicone spray on weatherstripping and bottom seal
- Wipe down tracks (no oil)
- Check track mounting bolts
- Signed: ________ Date: ________
Twice a Year (Spring and Fall)
- Full bottom seal inspection edge-on at each corner
- Side weatherstripping flexibility check
- Spring inspection, including winding cone crack check
- Cable inspection looking for fraying or slack
- Clean sensor lenses and check sensor alignment
- Inspect opener wiring along the frame
- Signed: ________ Date: ________
Once a Year
- Full lubrication plus opener housing inspection
- Opener travel limit and force settings reset per manual
- Connected opener firmware and app check
- Panel inspection for dents, cracks, or finish problems
- Signed: ________ Date: ________
If any task on this list is outside what you’re comfortable doing, that’s fine. Lubrication and monthly tests are homeowner-friendly. Springs, cables, and anything inside the opener housing are the parts where a professional call pays for itself.
What Never to Do Yourself
We say this out of experience, not to protect our own bottom line: there are jobs on this checklist we wouldn’t want a friend to attempt at home. Here’s what to leave to a trained professional.
- Never loosen or tighten a winding cone, or cut a torsion spring. Both springs store enormous energy, and a release can happen with no warning. If you suspect a spring issue, keep the door closed and call for service.
- Never touch the cables. They’re under tension and can snap like a whip if released improperly. A frayed cable is always a call-a-professional situation.
- Never work on the opener’s internal wiring or the logic board while the power is connected. Unplug the opener before anyone gets near it.
- Never force a door that’s off track. Forcing it usually makes the damage worse, sometimes turning a repair into a replacement.
- Never disable the safety sensors to get the door to close. That’s the exact safety feature that prevents a child or pet being trapped under a closing door.
If you’re not sure whether something is safe, it isn’t. When a door won’t move at all and it’s blocking a car or causing a security gap, that’s what our emergency service is for.
Common Mistakes to Avoid
- Lubricating everything with the same product. White lithium grease in a lock cylinder jams it; petroleum grease on a rubber seal destroys it. Use the right lubricant for each component.
- Skipping the bottom seal check after winter. In Chelsea, this is the single biggest missed check. The seal that looks fine at ground level is often cracked on one side where it met the concrete apron’s high point.
- Ignoring one-sided wear on the seal. Uneven apron slopes and curb-height variation wear one corner faster. If you check only the middle of the door, you’ll miss the wear entirely.
- Replacing one spring at a time. A torsion spring is replaced as one spring, and pairs wear together. If one spring snaps, the other is usually close behind. That’s why we recommend replacing both at once and quoting accordingly: a pair costs about twice a single spring.
- Oiling the tracks. Oil collects grit on Chelsea streets and turns the tracks into grinding paste. Leave them dry, wipe them clean, and check that mounting bolts are tight.
- Disabling safety sensors to fix a “door won’t close” problem. The sensor is the reason the door won’t close. Fix the sensor, don’t bypass it.
- Assuming a noisy opener means a new opener. Loose mounting bolts, worn rollers, or a dry hinge cause most of the noise. That’s a repair, not a replacement.
- Putting off a winding cone check because it’s hard to reach. Of everything on this list, the winding cone crack is the one that’s most often ignored and most likely to surprise you. It’s a five-minute flashlight check twice a year.
See the difference
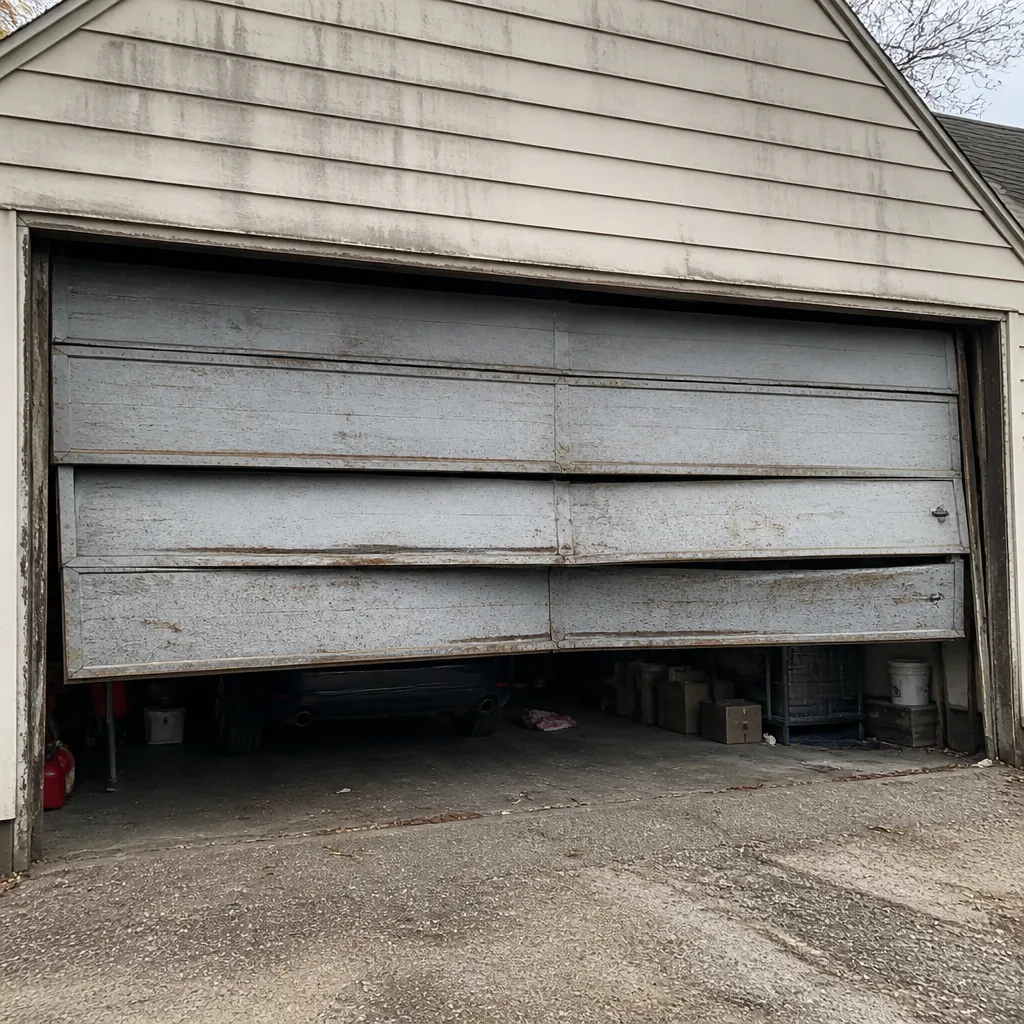 Before
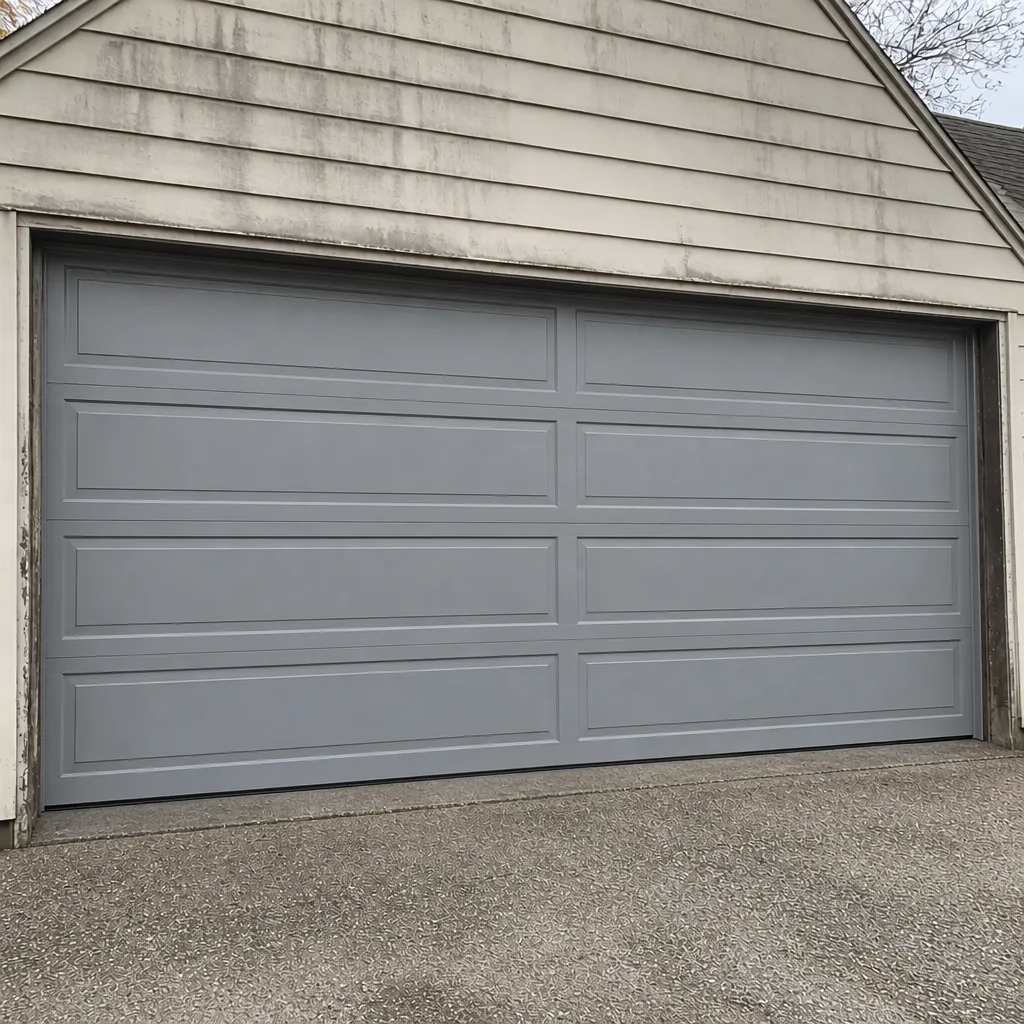 After
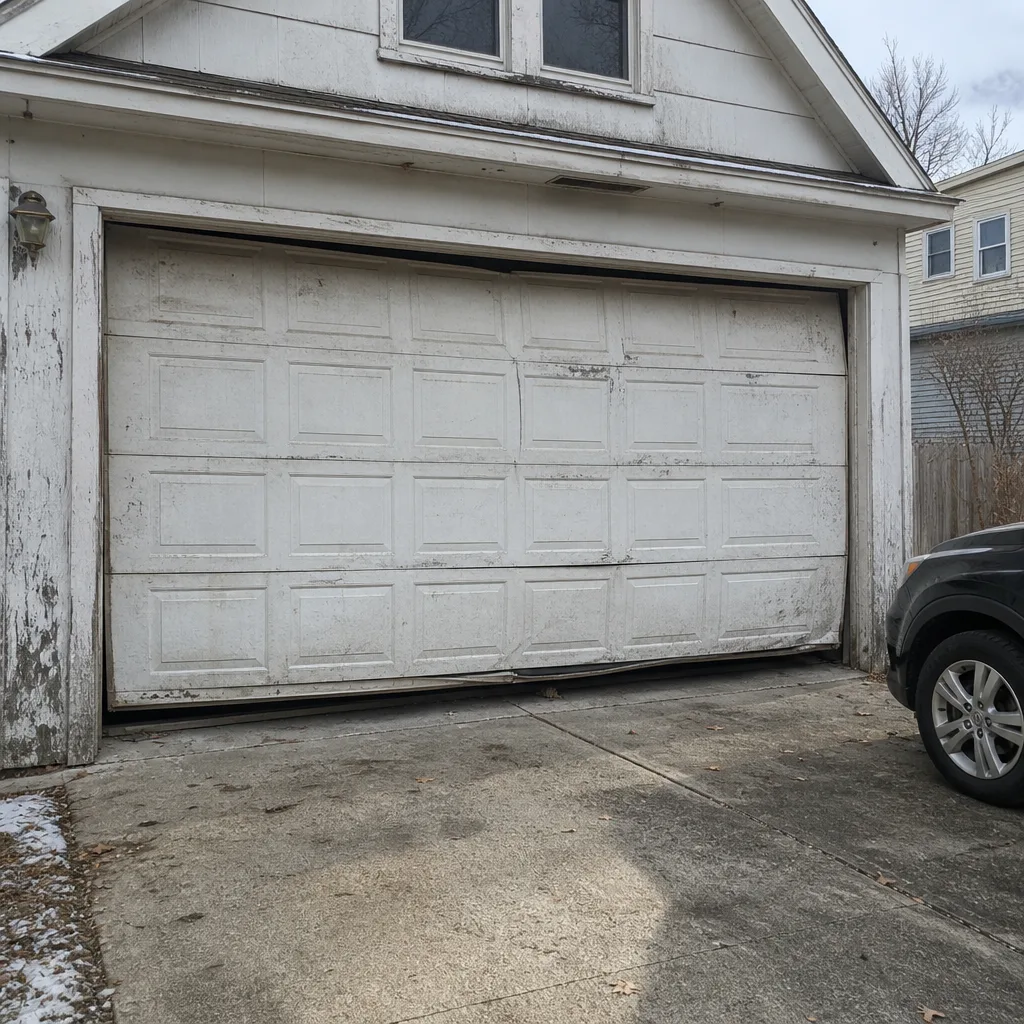 Before
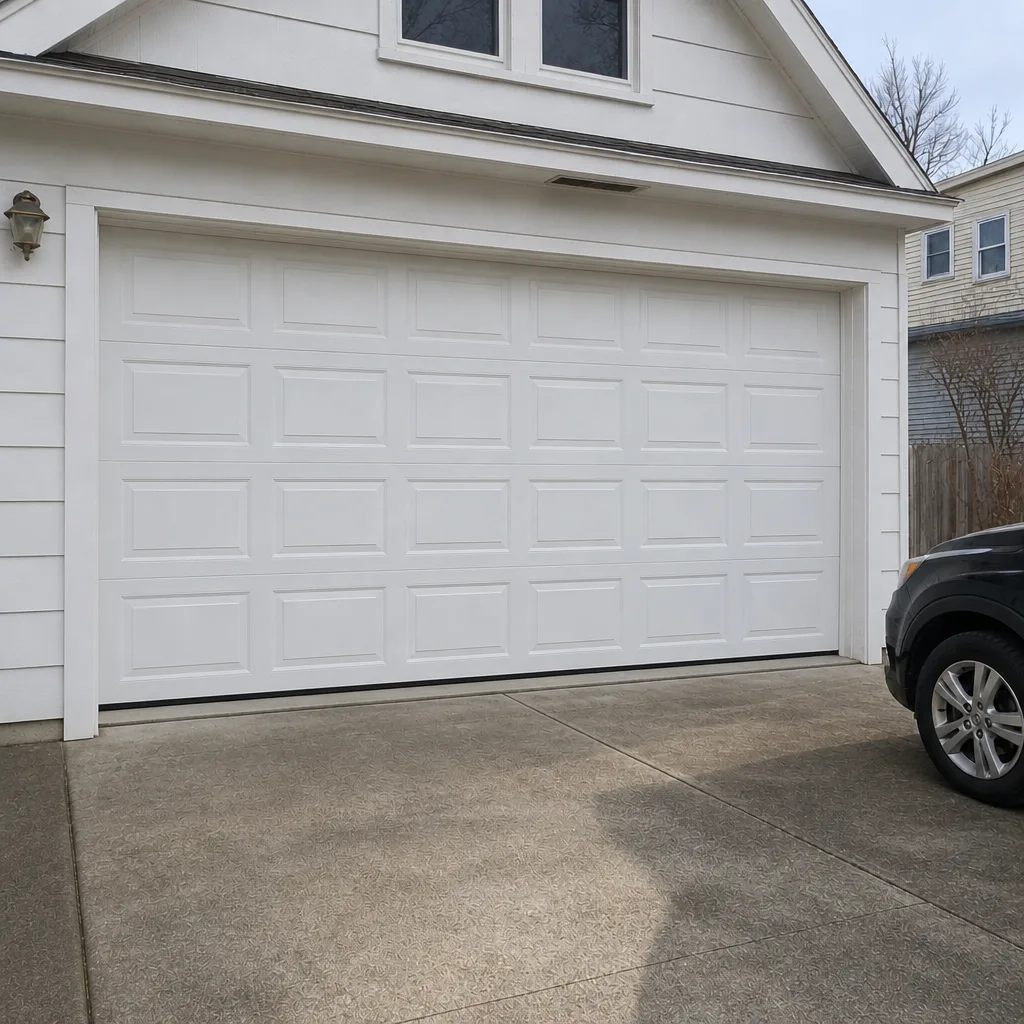 After
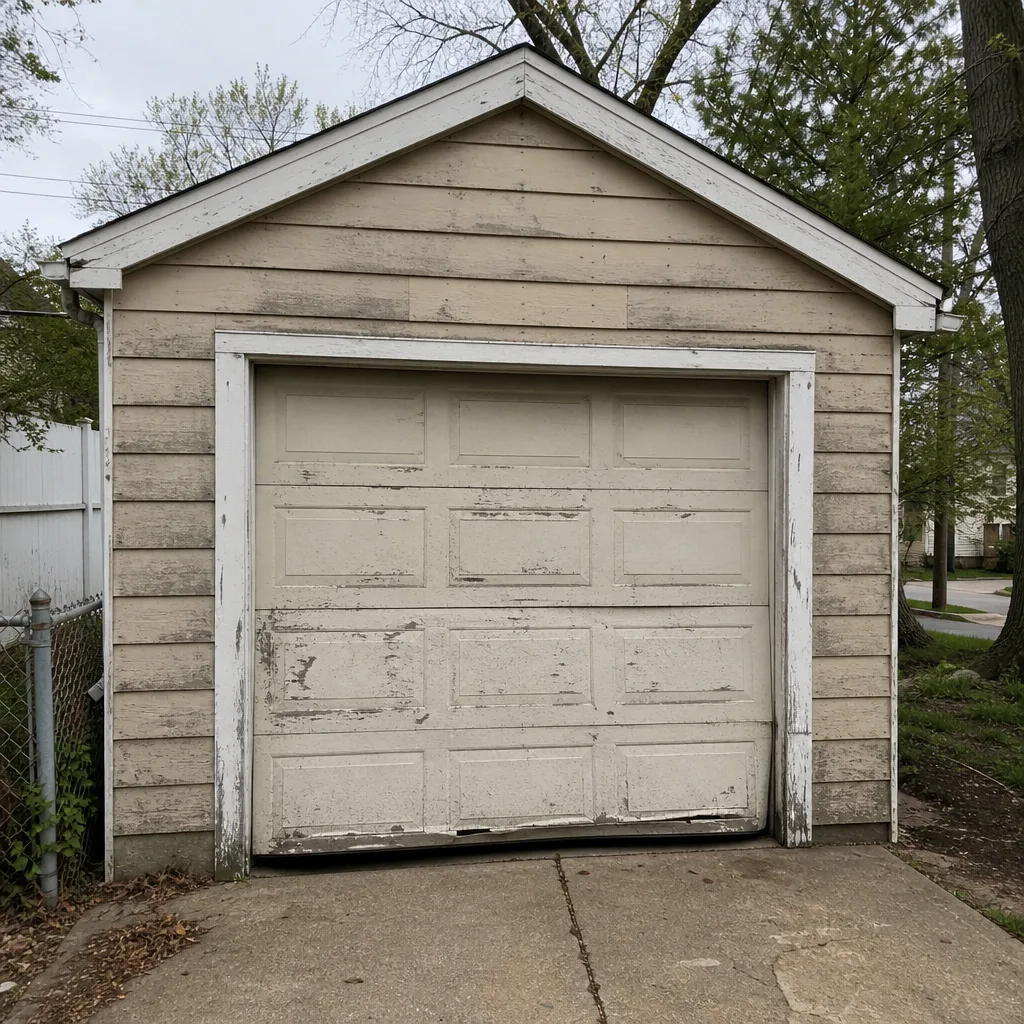 Before
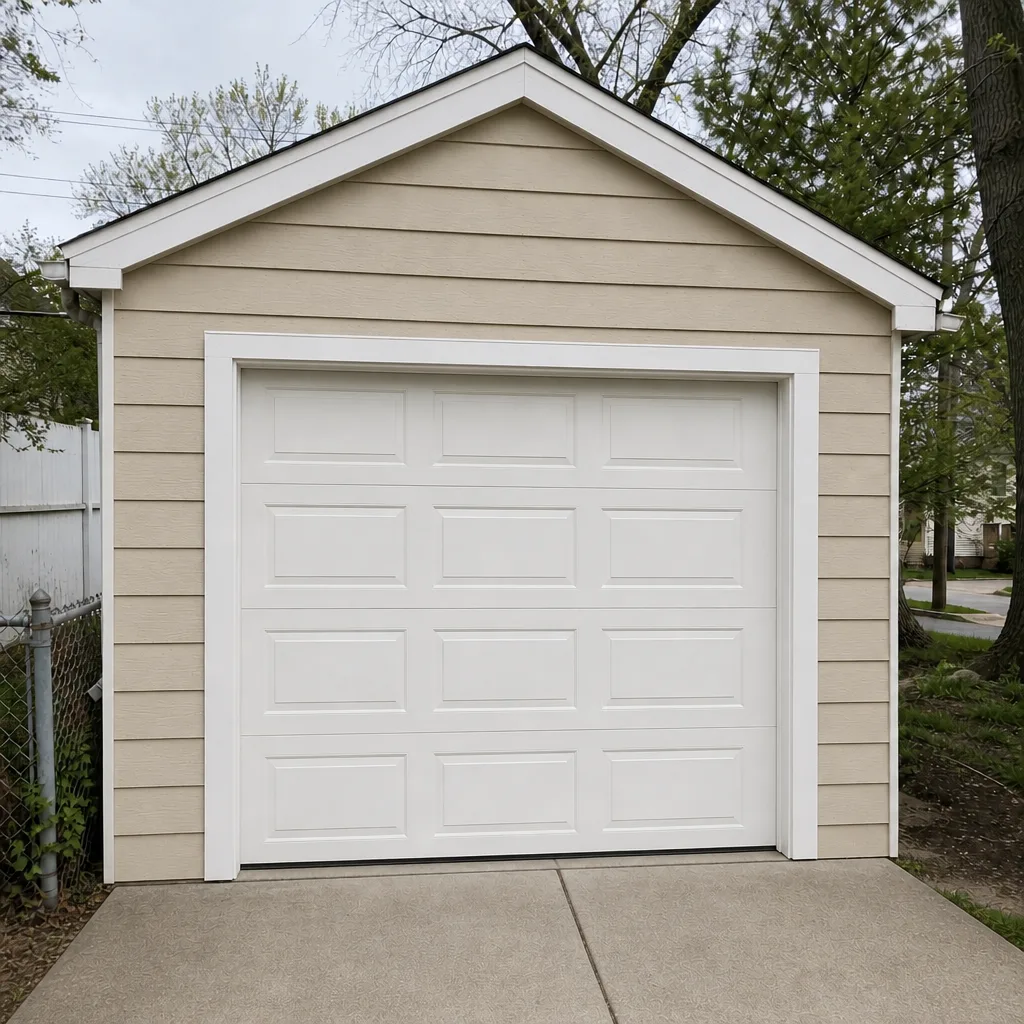 After
When to Call a Professional
Some maintenance is a homeowner’s job. Some is not, and knowing the difference protects you and your door. Call a professional for anything involving springs, cables, or opener internals, and for anything you’re not sure about. A door that’s off its tracks, a door that won’t move, a door that’s making a hard clanking noise, or a door that fails the safety reverse test all need a trained eye. We also recommend a professional inspection when a door is new to you, when it hasn’t been serviced in years, or when you notice the bottom seal failing repeatedly.
For tune-ups, spring repair, opener diagnostics, or a full custom door install on a Clopay, Amarr, Wayne Dalton, or similar door, garage door section repair and maintenance is a good starting point. When a door needs replacing rather than repairing, that’s a different conversation: we handle garage door installation under the same roof, which means we don’t create the gap where the installer and the repair tech are two different companies.
Chelsea Garage Door Repair Pros offers free estimates in Chelsea. Call (877) 492-1756 and we’ll walk you through what your door actually needs. Our technicians have up to 9 years of experience.
Frequently Asked Questions
Every 3 to 4 months for the metal components: hinges, roller bearings, and the torsion spring shaft with white lithium grease. Use a silicone spray on rubber seals, and dry graphite in the lock mechanism. Chelsea’s humidity and grit load wear through lubricant faster than in a quieter setting, so quarterly lubrication is a better rhythm here than an annual one.
Because it’s being pinched against an uneven concrete apron. Most Chelsea garages have aprons that slope or heave, so one side of the seal gets compressed against a high point while the other sits over a gap. That compressed side wears through in one freeze-thaw season. Check the seal at each corner, edge-on, not just at the middle. If it keeps happening, a different seal profile may fit your apron better. Call (877) 492-1756 for a free estimate on a replacement.
Winding cones are the metal caps at the ends of a torsion spring that hold it to the shaft, secured by set screws. Constant vibration from nearby traffic can develop hairline cracks in the cone, which can let the spring slip. Check them twice a year from the ground with a flashlight, looking for cracks around the set screws, fresh rust, and loose screws. Never tighten or loosen anything on the cone yourself; call a professional.
The most reliable signs are a door that feels heavy when lifted by hand with the opener disconnected, visible gaps between coil turns on torsion springs, sagging extension springs, and paint fade on the spring indicating it has aged. If one spring has snapped, the other is usually close behind. Springs come in matched pairs, so replacing both at once is the standard approach. That’s a call-us-now situation, not a DIY one. Phone (877) 492-1756 for an exact quote, and the estimate is free.
Check the sensors yourself monthly and clean the lenses twice a year. Have the opener inspected professionally once a year, more often if you notice it hesitating, working from the wall control but not the remote, or flashing error codes. LiftMaster, Chamberlain, Genie, and Craftsman openers often have sensor or logic board issues that a technician can diagnose in one visit without replacing the whole unit.
Call (877) 492-1756 and we’ll book you for Sunday. We’re closed on Saturday. A door that won’t move is a security and access problem, so don’t wait all week if you can get a slot. The call is free, and we’ll tell you honestly whether the issue can wait or needs someone out there.
No. We quote a price and agree it with you before any work starts. Our prices are quoted by estimate and the written quote is the price. If we find something during the work that changes the scope, we’ll tell you before we touch it, and you can decide. There’s no surprise invoice at the end.
That depends on your building and your local building department, so check with the city before you plan a replacement. Some configurations need a permit and some don’t. On installation jobs, we’ll tell you what we’d expect and can point you to the right office to confirm.
The Bottom Line
Your Chelsea garage door needs a schedule built around the local conditions: quarterly lubrication with the right product for each part, a bottom seal check after every freeze-thaw stretch, a twice-a-year spring and winding cone inspection, and monthly safety-reverse and sensor tests. None of that takes long, and all of it postpones the expensive failures. The winding cone check, the brand-specific seal fit, and the opener intervals are the parts most checklists skip. Keep the printable schedule on the wall, sign it when you finish a task, and call us the moment anything looks wrong, feels heavy, or makes a new noise. Chelsea Garage Door Repair Pros works the full door system, from LiftMaster and Chamberlain openers to Clopay and Amarr panels, so one call covers the whole problem. Call (877) 492-1756 for a free estimate, and let’s get your door on a maintenance rhythm that lasts.
Written by the team at Chelsea Garage Door Repair Pros.